Hey there, DIY enthusiast! Are you tired of shelling out your hard-earned cash for a plumber every time your sink or bathtub decides to clog up? Well, you’re in luck because today, we’re going to dive headfirst into the world of drain cleaning. We’ll equip you with all the knowledge and tips you need to avoid that pesky plumber’s bill and keep your drains flowing smoothly. So, grab your tool belt and let’s get started!
Why Should You DIY Drain Cleaning?
Before we dive into the nitty-gritty of drain cleaning, you might be wondering why you should bother doing it yourself. After all, isn’t that what plumbers are for? Well, sure, plumbers are fantastic at what they do, but there are some compelling reasons to give DIY drain cleaning a shot:
- Save Money: Let’s face it, plumber visits can be expensive. By tackling minor clogs on your own, you can keep more money in your pocket.
- Convenience: Waiting for a plumber to arrive can be a hassle. DIY drain cleaning allows you to take matters into your own hands and fix the issue right away.
- Learning Experience: DIY drain cleaning is a valuable skill to have. You’ll learn about your plumbing system and gain confidence in handling minor issues.
- Immediate Action: When you DIY, you don’t have to wait for an appointment. You can get to work immediately and prevent further damage.
Now that we’ve covered the “why,” let’s move on to the “how.”
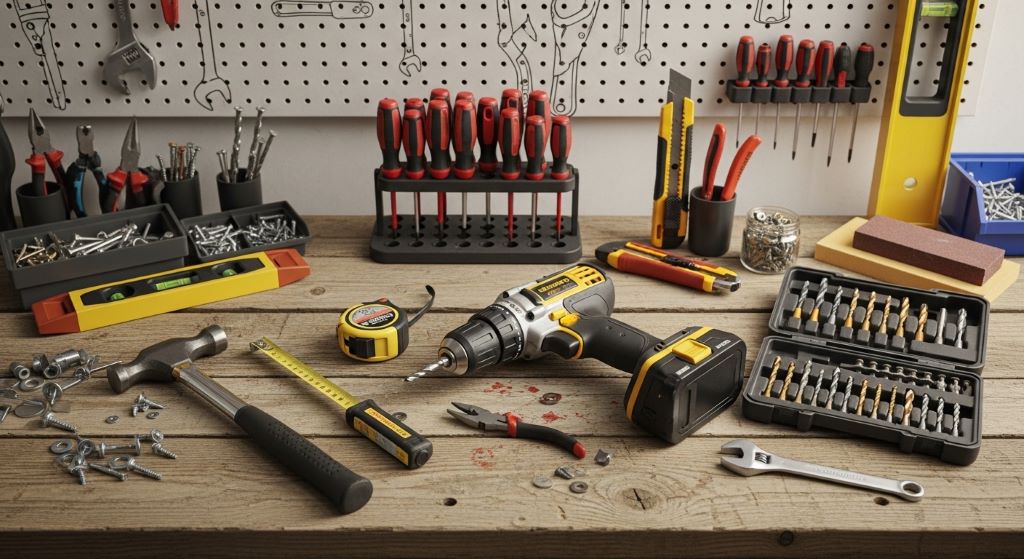
The Essential Tools for DIY Drain Cleaning
Before you can become a drain cleaning maestro, you’ll need to assemble your toolkit. Fortunately, you won’t need anything too fancy. Here are the essential tools you’ll want to have on hand:
- Plunger: The trusty plunger is your first line of defense against most minor clogs. It’s effective, easy to use, and you probably already have one in your home.
- Plumbing Snake: This flexible, coiled wire tool is perfect for reaching deeper clogs that a plunger can’t handle.
- Pipe Wrench: A pipe wrench is essential for removing the trap under sinks. It helps you access the pipes and clear blockages.
- Bucket and Towels: These are handy for catching any water that may spill during the process. Plus, they make cleanup a breeze.
- Rubber Gloves: Keep those hands clean and protected with a good pair of rubber gloves. You’ll thank yourself later.
Now that you’ve got your tools ready, let’s roll up our sleeves and get to work.
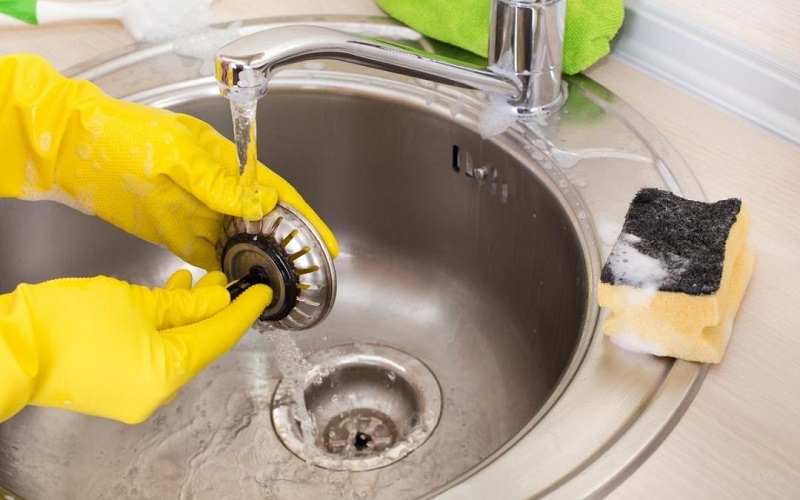
Unclogging a Sink Drain
Sink drains are notorious for getting clogged with food particles, grease, and soap scum. Here’s how you can tackle this common issue:
Step 1: Clear the Area
Before you start, remove any items from around the sink to give yourself space to work. You don’t want to accidentally knock over that soap dispenser!
Step 2: Plunge Away
Place the plunger over the drain and press down firmly. Create a tight seal, and then vigorously pump the plunger up and down for about 20-30 seconds. This action should help dislodge the clog.
Step 3: Check the Drain
Remove the plunger and turn on the tap to see if the water flows smoothly. If the drain is still slow, you might need to repeat the plunging process a few times.
Step 4: The Plumbing Snake
If plunging doesn’t do the trick, it’s time to bring out the plumbing snake. Insert the snake into the drain and turn the handle clockwise to navigate it through the pipes. When you encounter resistance, keep turning to break through the clog.
Step 5: Test Again
After snaking, run hot water to flush out any remaining debris. Your sink should now be free-flowing and ready for action.
Banishing Bathtub Blockages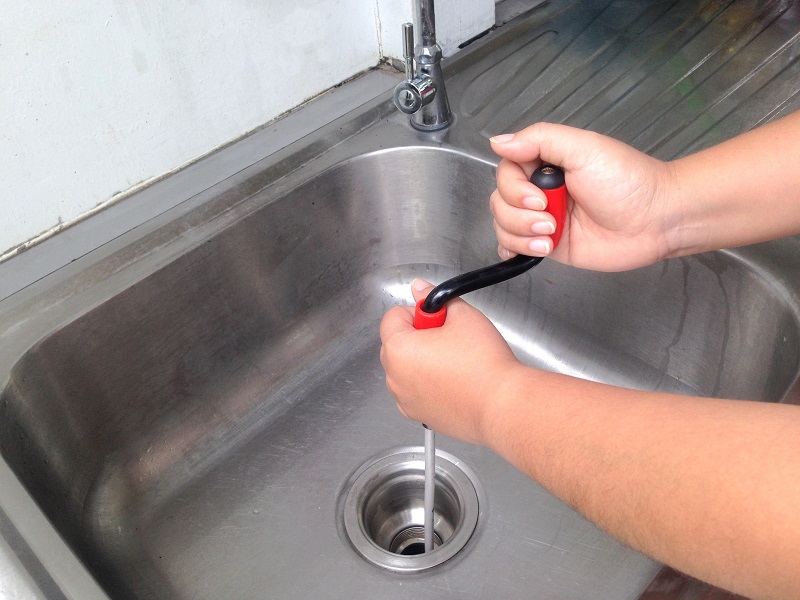
A clogged bathtub drain can put a damper on your relaxation time. Let’s see how you can get rid of those pesky blockages:
Step 1: Remove the Drain Cover
Most bathtub drains have a cover that can be easily removed. Take it off to access the drain.
Step 2: Plunge First
Just like with the sink, start with the plunger. Place it over the drain and plunge away. Be sure to create a good seal to maximize suction.
Step 3: Use the Snake
If plunging doesn’t work, grab your trusty plumbing snake. Insert it into the drain and turn it clockwise to break through the clog.
Step 4: Rinse and Repeat
After snaking, run hot water to wash away any remaining gunk. Your bathtub should now be clog-free, and you can enjoy your next bubble bath in peace.
Dealing with a Toilet Clog
Oh no, a toilet clog! This can be a bit intimidating, but fear not; you can handle it. Here’s what to do:
Step 1: Don’t Panic
First things first, don’t panic. Most toilet clogs can be cleared without professional help.
Step 2: Plunge, Plunge, Plunge
Grab your plunger and place it over the drain in the toilet bowl. Push down gently and then pump vigorously. The force should help dislodge the clog.
Step 3: Patience is Key
Be patient and persistent with the plunger. It might take a few minutes of plunging to get the toilet flushing smoothly again.
Step 4: The Plumbing Snake*
If the plunger isn’t doing the trick, it’s time for the plumbing snake. Carefully insert it into the drain and turn the handle to navigate it through the pipes. Once you reach the clog, keep turning to break it apart.
Step 5: Test Flush*
After using the snake, give your toilet a test flush. If it flushes properly, congratulations, you’ve conquered the clog!
Preventing Future Clogs
Now that you’ve become a DIY drain cleaning pro, you might be wondering how to prevent future clogs. Here are some tips to keep your drains flowing smoothly:
- Use Drain Strainers: Install drain strainers in your sinks and bathtub to catch hair, food particles, and other debris before they can clog your pipes.
- Regular Maintenance: Schedule routine drain cleaning even if you don’t have a clog. Prevention is key to avoiding future plumbing problems.
- Dispose of Grease Properly: Don’t pour grease down the kitchen sink. Instead, collect it in a container and throw it away.
- Be Mindful of What You Flush: Only flush toilet paper and human waste down the toilet. Items like paper towels and baby wipes can lead to clogs.
- Use Hot Water: Pouring boiling water down your drains once a week can help dissolve grease and prevent buildup.
FAQs (Frequently Asked Questions)
Can I use chemical drain cleaners?
While chemical drain cleaners can be effective, they can also damage your pipes and harm the environment. It’s best to try mechanical methods like plunging and snaking first.
What if the clog is too deep for me to reach with a snake?
If you can’t reach the clog with a plumbing snake, it’s time to call a professional plumber. They have specialized equipment for handling deep clogs.
Is there a way to prevent hair clogs in the shower drain?
Yes, you can use a drain strainer or install a hair-catching device in your shower drain to prevent hair from going down the pipes.
How often should I perform routine drain cleaning?
It’s a good idea to perform routine drain cleaning every few months to prevent clogs from forming. However, if you notice slow drainage, don’t wait—address the issue promptly.
Are there any warning signs of a more serious plumbing problem?
Yes, if you experience multiple clogs in different drains or notice foul odors coming from your drains, it could be a sign of a more significant plumbing issue. In such cases, it’s best to consult a professional plumber.
In conclusion
DIY drain cleaning is a practical and cost-effective way to keep your plumbing in top shape. Armed with a plunger, plumbing snake, and a few simple techniques, you can tackle common clogs with confidence. Remember, prevention is key, so be mindful of what goes down your drains, and you’ll be well on your way to avoiding those dreaded plumber bills. Happy plumbing!