If you’ve ever faced the challenge of a wobbly or malfunctioning shower handle, fear not! Removing shower handles doesn’t have to be a daunting task. In this guide, we’ll walk you through the process with easy-to-follow steps, ensuring a smooth and successful handle removal. Whether you’re a DIY enthusiast or just looking to troubleshoot a bathroom woe, we’ve got you covered. This article is presented by Esscnyc.com.
Step 1: Turn Off the Water Supply
Before you embark on any plumbing endeavor, the first rule of thumb is safety. Make sure to turn off the water supply to the shower. This precautionary step prevents unexpected water leakage and ensures a mess-free process. Locate the water valves near your shower or shut off the main water supply to your house. Safety first! Let’s discover the steps to remove shower handle.
Step 2: Remove the Decorative Trimming
With the water supply turned off, let’s get hands-on. Grab a flathead screwdriver and gently lift the cover plate or decorative trimming on the shower handle. If you encounter resistance, no worries – a handle puller comes to the rescue. Gently wiggle it free and voilà, you’ve uncovered the first layer.
Step 3: Locate and Remove the Screw
Underneath that cover plate, you’ll find a trusty screw – the key to handle liberation. Equip yourself with a Phillips screwdriver and turn it counterclockwise to unscrew and remove the screw. Keep a steady hand as the screw might make a swift exit. Safety goggles? Check.
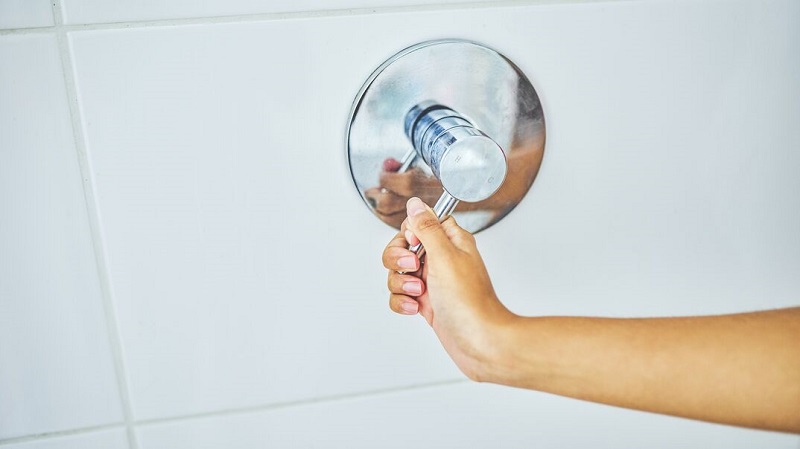
Step 4: Take Off the Handle
Now, let’s bid farewell to the handle. Give it a counterclockwise twist, and it should gracefully detach from the valve stem. If it clings on for dear life, no worries. You can rely on an Allen key, inserted into a discreet hole under the handle, to release the handle’s grip. Success!
Step 5: Remove the Trim Plate (if Necessary)
In some cases, an extra layer awaits. If a trim plate lurks beneath the handle, you’ll need to show it the exit. Unscrew any screws or bolts holding it in place, and watch as the path to a fully exposed valve stem opens up before your eyes.
Now you might wonder, “What if my shower handle isn’t playing by the rules?” Well, fret not, as every shower handle is unique, much like a puzzle piece. Your specific handle’s removal might involve some variations, based on its type and brand. Don’t be shy – consult the manufacturer’s instructions or consider calling in a professional for expert guidance.
Conclusion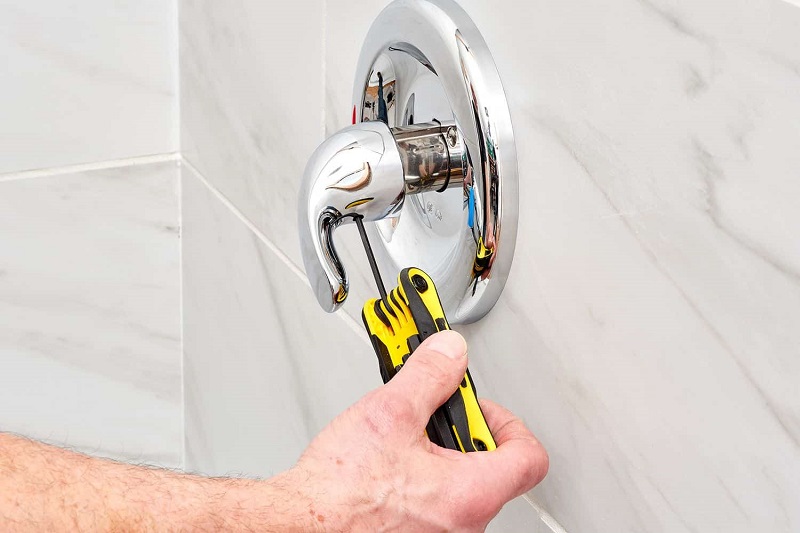
Removing shower handles is a rewarding task that can breathe new life into your bathroom experience. With our easy-to-follow guide, you’ve learned how to turn off the water supply, unveil the inner workings of the handle, and triumphantly remove it. Remember, safety and patience are your trusty companions throughout this journey. So go ahead, take on the challenge, and revel in the satisfaction of a job well done!
FAQs
Is turning off the water supply really necessary?
Absolutely! Turning off the water supply ensures you won’t have unexpected water surprises during the handle removal process.
What if the screw falls into the abyss?
Fear not! Keep a small container handy to catch the screw, preventing it from disappearing into the void.
Can I use any screwdriver for the task?
A Phillips screwdriver is your go-to tool for most shower handles. However, different handles might require unique tools, so always double-check.
What if I encounter resistance while removing the handle?
A gentle wiggle and some patience should do the trick. If not, the Allen key method is your backup plan.
Do I need professional help for handle removal?
While our guide makes the process manageable, don’t hesitate to seek professional assistance if you’re unsure or uncomfortable with the task.