

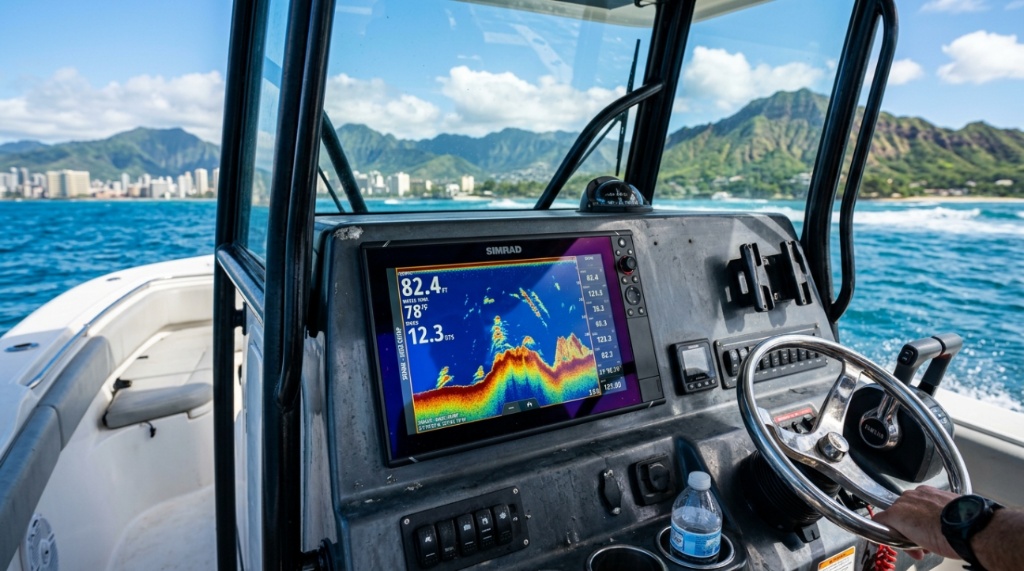
Fishing in Hawaii is a completely different animal. The steep drop-offs, deep blue water, volcanic rock structure, and powerful currents create conditions that fish finders struggle with unless they’re equipped properly. If you’ve shopped for one before, you know the market is flooded with freshwater-focused units that don’t perform offshore. That’s why choosing the right fish finder for Hawaii waters comes down to a few non-negotiable specs: transducer power, CHIRP capability, screen visibility in direct sunlight, and chart coverage that actually understands island bathymetry. This guide walks you through what actually matters, what to skip, and how to match a unit to the way you fish in the islands.
Key Takeaways
- Hawaii’s deep, clear water demands higher transmit power and CHIRP sonar to mark fish at depths beyond 300 feet, unlike freshwater units designed for shallow lakes.
- Screen brightness and sunlight readability matter more in Hawaii than almost anywhere else due to year-round intense sun exposure on open boats.
- Your transducer choice—through-hull vs. transom-mount—affects performance at high speeds and in rough ocean conditions more than the head unit itself.
- Chartplotters with Hawaii-specific bathymetric data are worth the extra cost because standard inland maps often miss critical drop-offs and ledges.
- Don’t buy a unit with more features than you need; a solid 5–7 inch CHIRP unit with GPS is more useful than a 12-inch flagship you can’t read or operate safely.
Why Hawaii Waters Are Different for Fish Finders
Hawaii’s fishing environment is unique, and it affects how a fish finder performs in ways most mainland anglers never think about. The first issue is depth. Bottom fishing here commonly happens in 200 to 600 feet of water. Trolling for ono, mahi-mahi, and tuna often happens in water over 1,000 feet deep. Many fish finders sold at big-box stores simply cannot reliably mark fish at those depths because their standard 77/200 kHz sonar lacks the power and signal clarity needed in deep, clear water.
The clarity of Hawaiian water is another factor. Because the water is so clear, sonar waves behave differently than in murky mainland lakes.
You also have to account for volcanic rock bottoms. These create strong sonar returns that can hide fish sign if your unit doesn’t have good target separation or bottom discrimination. Additionally, currents between the islands create thermoclines that show up as confusing clutter on poorly tuned units.
Finally, there’s the wind and sea state. Hawaii boats routinely deal with 10-to-15-knot trade winds and swell. A fish finder that works fine in a calm bass boat can become nearly useless when you’re bouncing across a four-foot chop unless the transducer is mounted properly and the unit has a fast update rate, Before heading out to coastal waters with your new marine electronics, make sure you know how to Tie and Use a High-Low Rig for Surf Fishing to maximize your catch from the shoreline.
Key Features to Prioritize for Hawaiian Fishing
Not every fish finder brand or model handles island conditions well. To narrow it down, you need to understand a few core specs and why they matter.
Transducer Power and CHIRP Sonar
This is the most important consideration. CHIRP (Compressed High-Intensity Radiated Pulse) sends a sweep of frequencies rather than a single tone, giving you much better target separation and fish arch clarity.
In Hawaii, you want a unit with at least 600 watts RMS, but preferably 1000+ watts RMS. High-power CHIRP is the only way to get usable bottom readings and fish arches in deep water because the signal is stronger and spreads more efficiently in high-clarity saltwater.
Without sufficient power, your fish finder will show a solid bottom line beyond 300 feet and completely miss fish holding near structure or suspended in the water column.
Screen Brightness and Sunlight Readability
Hawaii has intense sun nearly every day. Glare is your enemy on the water. Some budget units with 500-nit displays are simply unreadable on an open boat at noon.
Look for displays rated at 1000 nits or higher. Bigger screens with high resolution (at least 800 x 480 pixels) are also easier to read at a glance, which matters when you’re simultaneously steering through swells and watching for bird strikes on the horizon.
GPS and Chart Coverage
You need a chartplotter with built-in GPS. Hawaiian fishing heavily relies on waypoints: known ledges, pinnacle bottom structure, and historical buoy sightings. The unit must save waypoints reliably and show accurate position data.
More importantly, the base map included with many units is too coarse for island fishing. Investing in a chart upgrade like C-MAP Reveal or Navionics+ with enhanced coastal bathymetry will show you the underwater ledges and drop-offs that hold bottom fish. The stock maps often show nothing but wide depth bands around Neighbor Island coastlines,To maintain your gear in top condition after navigating coastal waters, make sure to read our guide on proper Saltwater Fishing Gear Care.
Transducer Mounting Options
How you mount the transducer affects performance at speed and in rough water:
- Transom mount: Good for smaller boats but prone to ventilation (air bubbles across the face) when turning in choppy seas, causing you to lose bottom.
- Through-hull (tilted element): The best option for fiberglass boats in Hawaiian waters. It sits flush with the hull, sending clean sonar through the hull, and maintains bottom readings better in rough conditions.
- In-hull (shoot-through): Workable but less efficient with CHIRP frequencies in thick fiberglass hulls, losing significant signal strength at depth.
How to Choose the Right Fish Finder for Your Style of Fishing
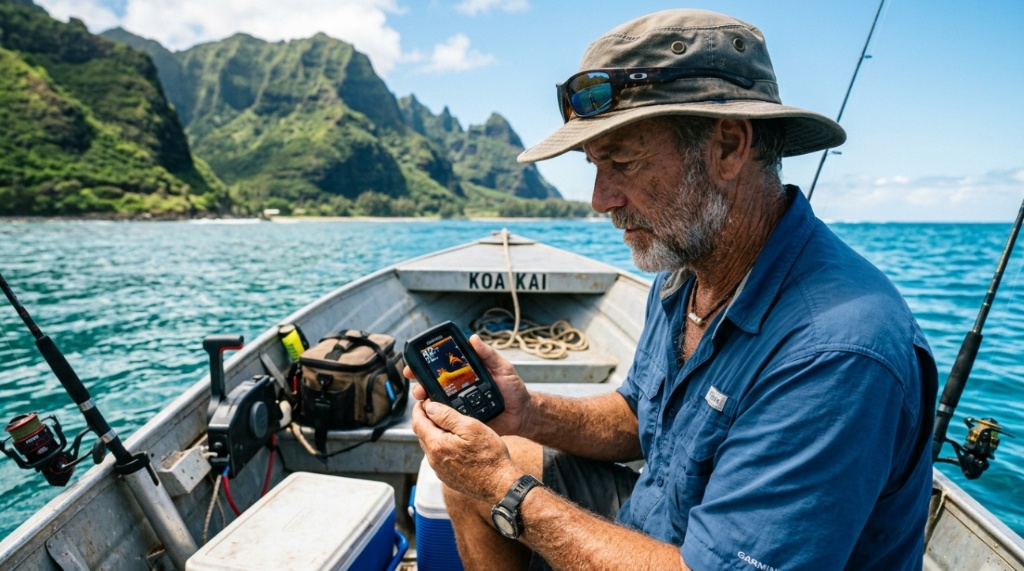
There’s no single “best” fish finder for Hawaii. The right choice depends on what type of fishing you do most. Here’s a breakdown to help you decide.
Bottom Fishing Around the Islands
If you primarily fish the deep reef drops for onaga, ehu, and opakapaka, your priority is bottom resolution and side imaging. You need a fish finder that differentiates between rubble, sand, and rock ledges. Look for units with a specific down-scan (DownVü or SideVü) capability. These produce a photo-like image of structure, which is invaluable for spotting the exact hole where big fish sit. A 7-inch display with high CHIRP power and downscan is your best bet here.
Offshore Trolling for Pelagics
Trolling for ahi, mahi-mahi, and ono is less about the bottom and more about temperature breaks, current edges, and bait schools in open water. For this, you need a fish finder with high GPS accuracy and a fast screen refresh rate. Some anglers prefer a unit with separate chartplotter and sonar screens side-by-side.
You also want a unit that can broadcast the water temperature. The water temp reading from the fish finder tells you when you’ve hit that break from 76 to 78 degrees that often triggers a bite.
Shallow Water and Inshore & Spearfishing
For spearfishing or casting the flats in less than 100 feet of water, you don’t need the most powerful unit on the market. A simple, low-cost combo unit with basic CHIRP and side imaging works well. Opt for a smaller display, like 5 inches, to save space and keep things affordable. The key feature here is fast refresh rate so the image doesn’t lag when you’re slowly working a ledge or hunting for reef structure.
Balancing Features with Your Boat Setup
This is where many anglers make a common mistake: they buy a top-of-the-line unit with 12-inch display, only to realize it doesn’t fit the dash or helmed console.
Check the mounting dimensions and the power requirements of the unit. Many modern units require 10-amp fuses and dedicated wiring. If your boat’s electrical system is old or underpowered, you’ll get voltage drops that cause the screen to restart at inopportune moments—like when fighting a fish.
Also consider the “network effect.” If you already have a VHF radio or an autopilot that uses NMEA 2000, buying a fish finder from the same brand ecosystem makes integration easier. But if you’re starting from scratch, don’t overcomplicate it. A standalone unit works perfectly fine for most recreational anglers.
Inland Maps vs. Hawaii Bathymetry
A common oversight is assuming your unit’s preloaded maps will be accurate in Hawaii. Most international base maps are generous with depth labels but lack the contour detail needed for fine-scale structure fishing.
After you buy your fish finder, budget for a chart update specific to the Hawaiian Islands. This upgrade will pay for itself the first time you find a spot that holds fish, simply because you can see the terrain clearly.
Common Mistakes to Avoid When Buying in Hawaii
Let’s save you time and money by addressing the biggest pitfalls island anglers run into.
Buying a Unit with Too Little Power
The number one issue is underestimating depth requirements. Units with only 200 or 250 watts of power are for freshwater and will fail beyond 150 feet. In Hawaii, you need 600+ watts minimum. Always check the RMS power specifications rather than the peak power rating; peak is marketing fluff, but RMS tells the true story.
Ignoring the Transducer Frequency
Standard 77/200 kHz transducers are okay, but they struggle in saltwater. Look for “High Wide” or “Medium CHIRP” transducers that operate between 80 and 160 kHz for deep water. This gives better penetration and a wider cone in deep blue water.
Screen Size Based on Boat Size
While 12-inch screens are great, they are not always necessary. A 9-inch screen is often the sweet spot for a 24-foot boat, offering enough detail without blocking the helm windshield. If you’re running a small skiff, a 7-inch is more practical and easier to see in direct sunlight when mounted on a swivel bracket.
Not Buying a Purpose-Built Model
Some of the most popular budget-friendly fish finders are made for bass boats and plastic bass tournaments. These have sensitivity settings tuned for freshwater and often have “Recreation” modes that don’t use the full power of the transmitter. You want a unit with a “Saltwater” mode or an offshore-specific model from Garmin, Raymarine, or Lowrance.
Best Fish Finder Types and What to Expect in Different Price Ranges
Here’s a quick practical breakdown of what you’ll get at various price points to help you set expectations.
| Price Range | Typical Screen Size | Sonar Type | Best Use in Hawaii |
|---|---|---|---|
| $200–$400 | 5–7 inches | Standard CHIRP (Low/High) | Kayak or tender fishing, shallow reefs, basic GPS for small boats |
| $400–$900 | 7–9 inches | Mid-High CHIRP, DownVü | Recreational bay/reef fishing, nearshore trolling, decent deep water down to 800 ft |
| $900–$2,000 | 9–12 inches | Ultra-High CHIRP, SideVü, Advanced mapping | Serious offshore bottom fishing and trolling; multiple transducer ports |
Practical Recommendations and Setup Tips
Once you’ve chosen your unit, proper setup is necessary for it to perform well in Hawaii. Here are a few actionable steps:
- Set the scroll speed to maximum: When trolling at 8 knots, a slow scroll speed stacks the fish arches together and makes them unreadable.
- Turn off auto-gain: Let the unit auto-tune, but switch it to manual and back off the gain by 10-15% if you see too much surface clutter. In Hawaii’s clean water, less gain often reveals more.
- Use a dedicated GPS antenna: If the internal GPS in your unit is struggling to maintain a fix when you’re sitting deep inside a fiberglass console, use an external puck antenna. The fast position updates are crucial for dropping on a waypoint accurately.
If you’re looking at specific models and want to know how the market leaders compare against your needs, be sure to read through comprehensive breakdowns like the one on the best fish finder for Hawaii at Fishing Gear Shops. It provides a good reference point for comparing specs side-by-side.
Frequently Asked Questions
Is a fish finder necessary for Hawaii fishing?
It is not strictly required, but it nearly triples your success. Without one, you are fishing blind. The sonar lets you identify structure like sunken rocks and ledges that hold fish all year.
Can I use a freshwater fish finder in the ocean?
You can, but it will not perform well at depth. Freshwater units usually have low power and lack the rugged saltwater-rated connectors. Over time, saltwater corrosion will damage the connections if not thoroughly rinsed after each trip.
What depth do I need my fish finder to read in Hawaii?
For general island bottom fishing, you want a unit that clearly reads to at least 600 feet. For offshore canyon trolling, look for units capable of reading 1,000 feet or more, even if you don’t use it that deep daily.
Should I buy a combo unit with GPS?
Yes. In Hawaii, waypoint tracking is critical. The GPS lets you mark your starting point for a drift, record your trolling lines, and navigate back to a proven hot spot. A combo unit that handles both is much better than separate devices.
How long should a fish finder last in saltwater?
With proper rinsing and a good cover, expect 5-8 years on the head unit. Transducers usually last longer, but if you have an older unit, check the “shoot-through” hull for air bubbles or delamination, which cause it to fail.
Conclusion
Choosing the right fish finder for Hawaii ultimately comes down to matching the equipment to the conditions. Deep, clear water demands high power and CHIRP sonar. The sun demands a bright screen. And the vast open water demands reliable GPS and detailed charts. You don’t need the most expensive flagship unit on the market; you need the most appropriate one for your boat and fishing style. Focus on a unit with at least 600 watts RMS, a 7-inch or larger high-brightness display, and a quality transducer designed for saltwater. Take your time with the setup—properly tuned sonar will dramatically improve your time on the water. Pick a solid unit that meets these criteria, and you’ll be well-equipped to find fish around the islands.